Hardening steel at home can be both a fun and practical skill to develop. Whether you're looking to enhance your tools or dive into a larger-scale project, mastering this process can yield impressive results. While it might seem daunting at first, especially for beginners, the right tools and a bit of know-how can make it accessible even without extensive equipment or years of experience. As a trusted provider of stainless, mild, and galvanized steel, Clickmetal is here to guide you through the entire steel hardening journey. Follow along with our comprehensive step-by-step instructions to heat, quench, and temper your steel, ensuring it’s strong and durable enough for your next big project!
Why Harden Steel?
Steel hardening is a crucial process that enhances the material’s strength and durability, making it more resilient against wear, impact, and abrasion. It’s particularly beneficial when crafting tools such as knives, chisels, or any implement that requires a sharp, long-lasting edge. By carefully controlling the heating, quenching, and tempering stages, you can strike the perfect balance between hardness and toughness—ensuring your steel remains strong without becoming overly brittle.
Safety First!
When working with high temperatures during the hardening process, safety should always come first. Here are some essential tips to keep you protected:
- Wear heat-resistant gloves and safety goggles to shield yourself from potential burns or sparks.
- Ensure your workspace is well-ventilated, especially if you’re using oil for quenching, as fumes can be hazardous.
- Keep flammable materials far away from your work area to avoid accidents.
- Have a fire extinguisher close by, just in case something unexpected happens.
- Remember that steel retains heat for longer than it appears, so handle quenched pieces with extreme care.
What You’ll Need
You don’t need fancy or expensive tools to harden steel at home. Here’s everything you’ll need to get started:
- Your steel piece: Stainless, carbon, or mild steel works best for hardening.
- A heat source: A propane blowtorch or a small forge for consistent heating.
- Your quenching medium: Water or oil, depending on the type of steel you’re working with.
- Tongs or pliers: For safely handling the heated steel.
- A sturdy container: To hold your chosen quenching medium.
- An oven: For tempering to reduce brittleness after quenching.
- Safety gear: Heat-resistant gloves, goggles, and protective clothing.
Let’s Get Started
Step 1: Prepare Your Steel
Choosing the right steel is the first step. High-carbon steel is ideal for hardening due to its ability to respond well to heat treatments, but other types can also work. If you’re unsure which steel is best suited for your project, feel free to reach out to Clickmetal for expert advice.
Before you begin, ensure your steel is clean. Remove any rust or debris from its surface, as impurities can interfere with the hardening process.
Step 2: Heat the Steel
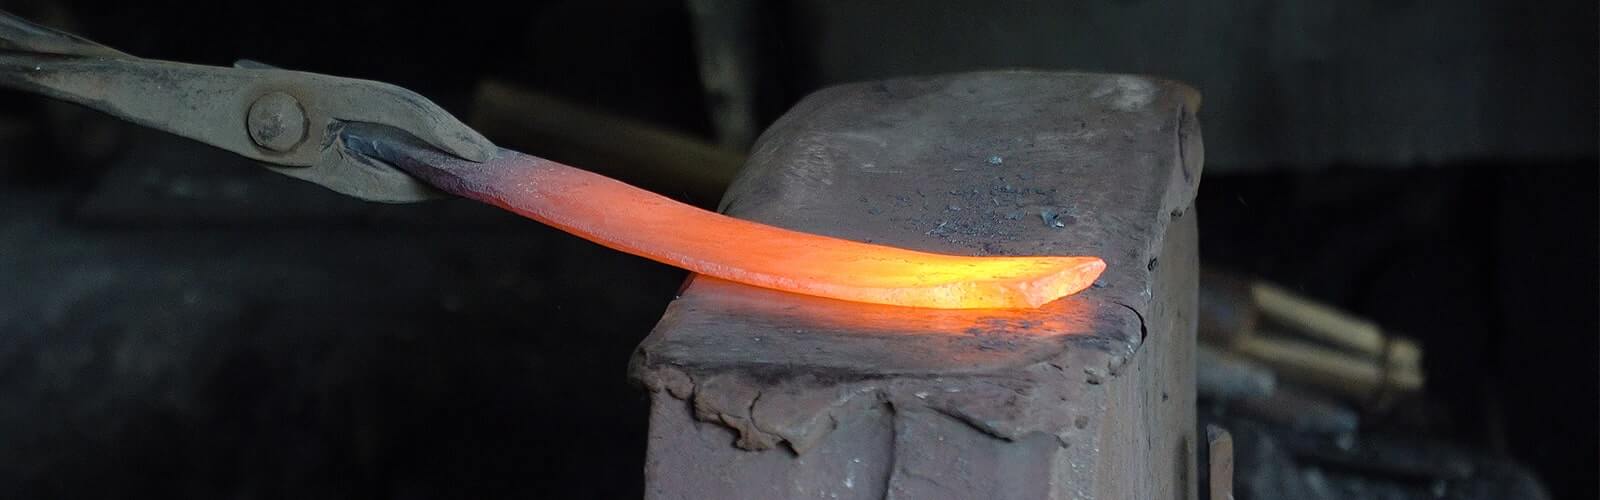
Next, you’ll need to heat the steel to its critical temperature, typically around 800°C to 900°C (a bright red glow). Use a blowtorch or forge to achieve this. Keep the steel in the flame until it heats evenly and glows red-hot. For beginners, it’s always a good idea to practice on a small scrap piece of steel to get a feel for the process.
If you’re using a forge, rotate the steel or move the torch to ensure even heating. A quick way to check if it’s ready for quenching is to use a magnet. Once the steel reaches its critical temperature, it will lose its magnetic properties, signaling it’s ready for the next step.
Step 3: Quench the Steel
After reaching the correct temperature, it’s time to cool the steel quickly through quenching, which helps lock in the hardness. The quenching medium depends on the type of steel you’re working with—water or oil. Mild and carbon steels generally respond well to water, whereas some alloys may require oil. Always quench the steel vertically to avoid warping, and make sure your container is deep enough for full submersion.
- Water Quenching: Fully submerge the steel in water and cool it rapidly. This ensures effective hardening.
- Oil Quenching: Better suited for more brittle steels, oil cools the metal slightly slower than water, reducing the risk of cracking. However, be cautious—oil can ignite, so wear protective gear and use a fire-safe container.
Step 4: Tempering the Steel
At this stage, your steel will be extremely hard but also somewhat brittle. To reduce brittleness while maintaining hardness, tempering is essential. This involves reheating the steel to a lower temperature (typically between 150°C and 350°C) and allowing it to cool gradually.
- Preheat your oven to the desired tempering temperature.
- Place the steel inside the oven for approximately one hour, giving it time to relieve some of the internal stress caused by quenching.
- Allow the steel to cool slowly to room temperature after tempering.
The precise temperature and duration for tempering depend on the type of steel and the desired balance between hardness and toughness. Higher temperatures result in a tougher steel but with reduced hardness, while lower temperatures preserve hardness but may make the steel less flexible.
To test the hardness of your steel, try scratching it with a known hard object, such as a file. If it resists scratching, you’ve successfully completed the process!
Discover Premium Steel Components at Clickmetal
Hardened steel opens the door to countless possibilities for your DIY projects, enabling you to create durable tools, parts, or decorative items. With the right techniques and safety measures, hardening steel at home becomes a manageable and rewarding endeavor.
If you’re in need of top-quality steel for your next project, Clickmetal offers custom-cut stainless, mild, and galvanized steel, conveniently delivered to your doorstep. We aim to process all orders within 3-5 working days, and once ready, they’re shipped via next-day courier.
No matter if you’re a hobbyist or a professional, our extensive range of metals and expert support can help you find exactly what you need. Explore our full selection of metals today and kickstart your next project with confidence!
A magnetic valve is a type of valve that uses an electromagnetic field to control the flow of fluids or gases. It consists of a coil of wire that generates a magnetic field when an electric current flows through it. This magnetic field interacts with a ferromagnetic core, which moves a plunger or armature to open or close the valve. Magnetic valves are commonly used in industrial applications, such as in water treatment plants, chemical processing plants, and HVAC systems. They are also used in medical equipment, such as oxygen concentrators and anesthesia machines. Magnetic valves are known for their high reliability, fast response times, and low power consumption.
Magnetic Valve,Magnetic Gas Valve,Electro Magnetic Valve,Magnetic Latching Solenoid Valve
WUXI KVC-VALVE , https://www.wxkaiweixi.com